Front or rear sprocket: track bike gearing
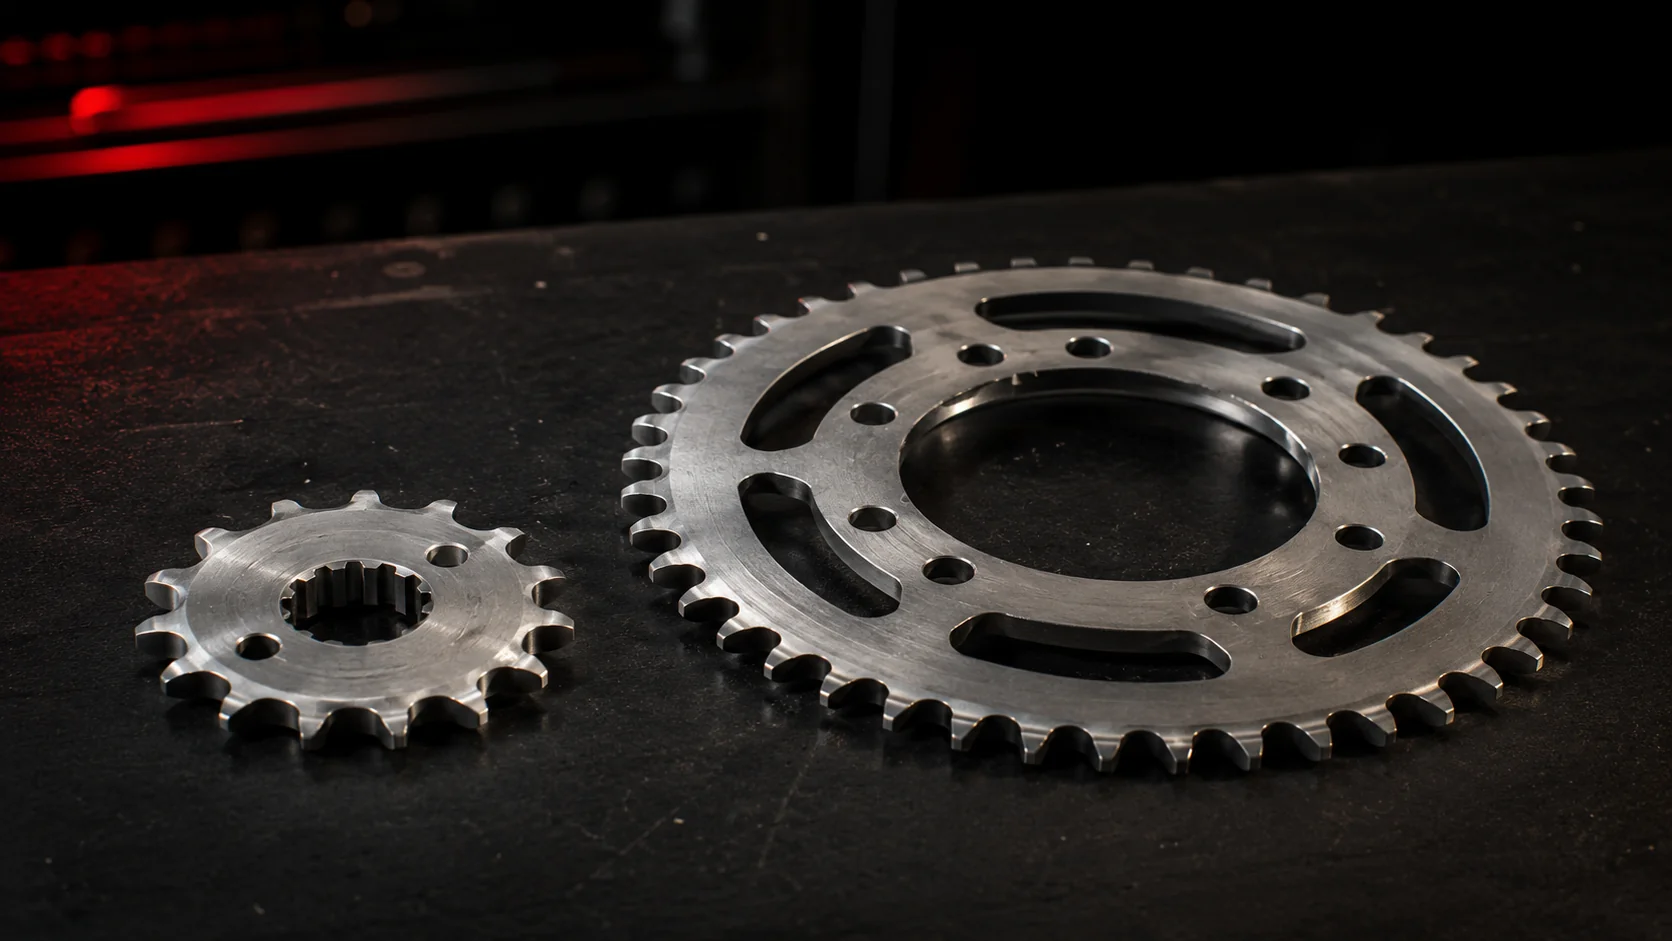
You arrive at Paul Ricard with your R6 and hit the limiter on the Mistral before the end of the straight. Verdict: you need taller gearing. The good news is that you have two ways to get there — change the front sprocket on the gearbox output shaft, or the rear sprocket. The bad news is that these two parts differ in price, service life and how much each adjustment changes the gearing.
This article answers a practical question: where should you start when you want to change the final drive gearing on your sports track bike? We will look at the actual effect of one tooth on the front versus one on the rear, the cost, wear, the particular case of aluminium, and three setup strategies to suit the circuit you ride.
A quick reminder: front sprocket, rear sprocket, final drive
A motorcycle's final drive ratio is the number of teeth on the rear sprocket (attached to the rear wheel) divided by the number on the front sprocket (on the gearbox output shaft, by the engine casing). A standard 2008 R6 has 16 teeth at the front and 45 at the rear: 45 ÷ 16 = 2.813.
This ratio tells you how many turns the front sprocket (and so the gearbox output shaft) makes for one turn of the rear wheel. The higher it is (larger rear or smaller front sprocket), the harder the bike accelerates, but the more top speed it loses. The lower it is (smaller rear or larger front sprocket), the faster it goes at the end of the straight, but the more sluggish it becomes out of corners.
The other possible adjustment — the gearbox — cannot be changed on 99% of production bikes. That leaves the final drive: front or rear sprocket.
The rule of 3: 1 front tooth ≈ 3 rear teeth
Keep this in mind: changing the front sprocket has a much bigger effect than changing the rear, tooth for tooth.
On the standard R6 (16/45, ratio 2.813):
- +1 front tooth (17/45): ratio 2.647 → −5.9% in final drive ratio
- −1 rear tooth (16/44): ratio 2.750 → −2.2% in final drive ratio
To get an effect equivalent to +1 at the front, you need −3 teeth at the rear (16/42, ratio 2.625, or −6.7%). This rule of 3 is an approximation: on a sports bike, one front tooth is worth roughly as many rear teeth as the ratio itself, so 2.6 to 3. The reason: a front sprocket has a low tooth count (typically 14 to 17), so each tooth removed or added makes a large proportional difference. A rear sprocket has 35 to 55 teeth, so each tooth makes a smaller individual contribution.
In practice: if you just want to try a small change (1–2% in final drive ratio), use the rear sprocket. If you want a substantial change (5% or more), start with the front — it is cheaper, quicker to fit, and the effect will be immediate.
Cost: front sprocket €25–40, rear sprocket €70–150
For a 600/1000 sports track bike, these are average new prices in 2026 (specialist brands such as AFAM, JT Sprockets, Renthal and Supersprox):
- Steel front sprocket: €20 to €40. From Renthal Quick Release or entry-level JT Sprockets to top-end AFAM or Supersprox
- Steel rear sprocket: €60 to €100. Most track kits come in at around €80
- Aluminium rear sprocket: €90 to €150. More expensive, but 40% lighter
- Complete chain and sprocket kit (front + rear sprockets + heavy-duty O-ring or X-ring chain): €180 to €400
For track-only use, that means:
- Trying +1 / −1 on the front sprocket = €25–40 + 30 min fitting time (remove the sprocket cover and undo the nut)
- Trying +1 / −1 on the rear sprocket = €80 on average + 45 min fitting time (remove the rear wheel)
- The catch: if the new rear sprocket needs a longer or shorter chain, add the cost of a chain (€80–200). The Tarmago gearing calculator automatically tells you how many links you need.
Financially, trying the front sprocket first gives you more change for your money when you want a big adjustment (5% or more). For fine-tuning, the rear sprocket gives you smaller steps.
Service life: steel 80 track days, aluminium 30 track days
For hard sports-bike track use, but not professional racing, these are the service lives observed in practice (Tarmago catalogue sources, calibrated against motopiste.net, the repairedesmotards track forum, street-moto-piece and discussions with sports-bike track riders):
- Steel front sprocket: 80 to 120 track days (rarely replaced on its own, usually as part of a complete kit)
- Steel rear sprocket: 80 to 120 track days
- Aluminium rear sprocket: 30 track days (yes, a service life 2 to 4× shorter than steel)
- Heavy-duty O-ring/X-ring chain: 80 to 120 track days
- Chain paired with an aluminium rear sprocket: service life reduced by 20–30% (the rear sprocket wears faster and takes the chain down with it)
Wear across a chain and sprocket kit is interdependent: replacing just one of three worn parts never ends well. If your rear sprocket is at 80% wear, your front sprocket is probably between 60 and 80%, and your chain is finished. Replacing only the rear sprocket means running a new part with a worn chain: each wears the other out faster.
Golden rule: replace all three parts together as soon as one reaches 80% wear. Tarmago automatically tracks all three components in My garage and sends an email alert at 80, 90 and 100%, calibrated to your actual track use (track mileage calculated from the number of laps completed and the circuit length).
Aluminium vs steel: when aluminium is worth it {#alu-vs-acier}
Aluminium appeals for two practical reasons on track:
- Unsprung weight reduced by 300–400 g at the rear sprocket. When it comes to unsprung mass (the hardest kind for the suspension to control), that is a measurable gain in weight transfer and corner-exit traction
- Looks: a rear sprocket anodised red/gold/blue does look tidy
But aluminium costs you twice:
- Purchase price: +€50 to +€80 versus steel
- Service life: 2 to 4× shorter. Over 80 track days, you will go through 3 aluminium rear sprockets for 1 steel one — and probably 1 or 2 extra chains as well
The practical verdict for amateur track riding: steel. The reduction in unsprung mass is real but marginal for amateurs (you feel little difference compared with a tyre or suspension change), and running costs triple over the season. Leave aluminium to racers chasing every tenth, who are happy to replace the rear sprocket every 6 months.
Note: aluminium front sprockets also exist, but last even less time (15–25 track days) and are much rarer. Not recommended for amateurs.
Three strategies to suit your circuit
Magny-Cours (technical, tight corners)
Hitting the limiter in 3rd or 4th out of a corner, then crawling along in 6th? You need stronger drive, so shorten the gearing.
- Quick, economical solution: +1 rear tooth (ratio +2.2%). €80, 45 min. On an R6 with 16/45, you move to 16/46, ratio 2.875
- Bigger change: −1 front tooth (ratio +6.7%). €30, 30 min. On the same R6, 15/45, ratio 3.000. Watch out: with a smaller front sprocket, the chain sometimes hits the swingarm or engine casing; check when fitting
Paul Ricard (Mistral 1.8 km)
Hitting the limiter in 6th at 250 km/h on the Mistral? You need more top speed, so make the gearing taller.
- Quick solution: −1 rear tooth (ratio −2.2%). You gain 2–3 km/h in theoretical top speed without losing much corner-exit drive. 16/44 on an R6
- Bigger change: +1 front tooth (ratio −5.9%). You gain 8–12 km/h at the end of the straight, but lose a noticeable amount of drive away from the Mistral. 17/45 on an R6. Only try this if you hit the limiter before the end of the straight. Otherwise, you lose out elsewhere
Lédenon (varied, mixed layout)
You want a compromise: neither too short nor too tall. Aim for a ratio around 2.6–2.8:
- R6 16/45: ratio 2.813 — slightly short, fine as standard
- R6 16/44: ratio 2.750 — ideal
- R1 17/41: ratio 2.412 — too tall for this layout; you need +4 teeth at the rear (17/45 = 2.647) or −1 at the front and +2 at the rear (16/43 = 2.688) to reach the ideal range
The Tarmago calculator's "Balanced 2.6-2.8" button applies this setup automatically and shows the actual change, depending on whether you have chosen to adjust the front or rear sprocket.
How can you test without fitting the part?
The classic trap: order a rear sprocket, fit it, head to the track day, realise it is wrong, order another, lose 2 weeks.
The quick method:
- Open the Tarmago gearing calculator
- Select your bike from the list (over 260 bikes in the catalogue: R6/R1/CBR600/ZX-10R/Panigale/etc., all generations)
- Enable comparison
- Above the practical tips, choose whether you want to change the front sprocket or the rear sprocket
- Click a preset ("More top speed", "More acceleration", "Balanced")
- Read the result: new final drive ratio, new top speed in 6th, number of chain links required
The Tarmago calculator covers over 260 bikes (10 brands, all generations since the 90s), from 600 supersports to litre-class hyperbikes, sorted by engine capacity.
The calculator applies the preset's change to your bike's standard setup (not the previous simulated setup), so you can test each adjustment independently without resetting it manually. Theoretical top speed is calculated from the peak-power rpm (not the rev limiter) and the tyre's actual diameter — not a finger-in-the-air estimate.
Once you have checked the figures for your setup, you can order the right part first time and fit it before your next track day.
In summary
- For a big gearing change (5% or more): start with the front sprocket. Effect × 3 at cost × 0.5
- For fine-tuning (1–3%): use the rear sprocket. Smaller, more precise steps
- Steel vs aluminium: steel for amateurs, aluminium for racing. Aluminium's service life (30 track days) does not justify the saving in unsprung weight
- Always replace front sprocket + rear sprocket + chain together as soon as one part reaches 80% wear. Tarmago tracks this automatically in My garage
- Test before ordering: the Tarmago calculator shows you the exact effect + the number of chain links required
- Check when fitting that the new chain does not hit the swingarm or engine casing, especially with a smaller front sprocket
A bike with the right gearing means a faster track day for the same maintenance budget. The difference between a standard R6 and a well-set-up R6 is measured in seconds per lap on an average circuit.
Want to test your setup now? Open the Tarmago gearing calculator. Free, no registration required, over 260 bikes in the catalogue (from the 1999 R6 to the 2026 Panigale V4).
Want to track chain and rear sprocket wear automatically? Create your Tarmago rider logbook. Enter your bike once, days booked on Tarmago are added to your logbook automatically (you can add the others in a few clicks), and you receive an email alert when a component reaches 80, 90 and 100% wear.